So you’ve mastered your favorite Switch game, and you’re ready to stream your skills to the world. If you’re unsure exactly how to go about this, we’ve put together a basic explainer on how to livestream on Nintendo Switch. The process varies a bit between platforms, so we’ve laid out specific instructions for Twitch, YouTube, and Facebook. If you’re familiar with the platform and just want to hook up your Switch properly, we have step-by-step instructions for that, too.
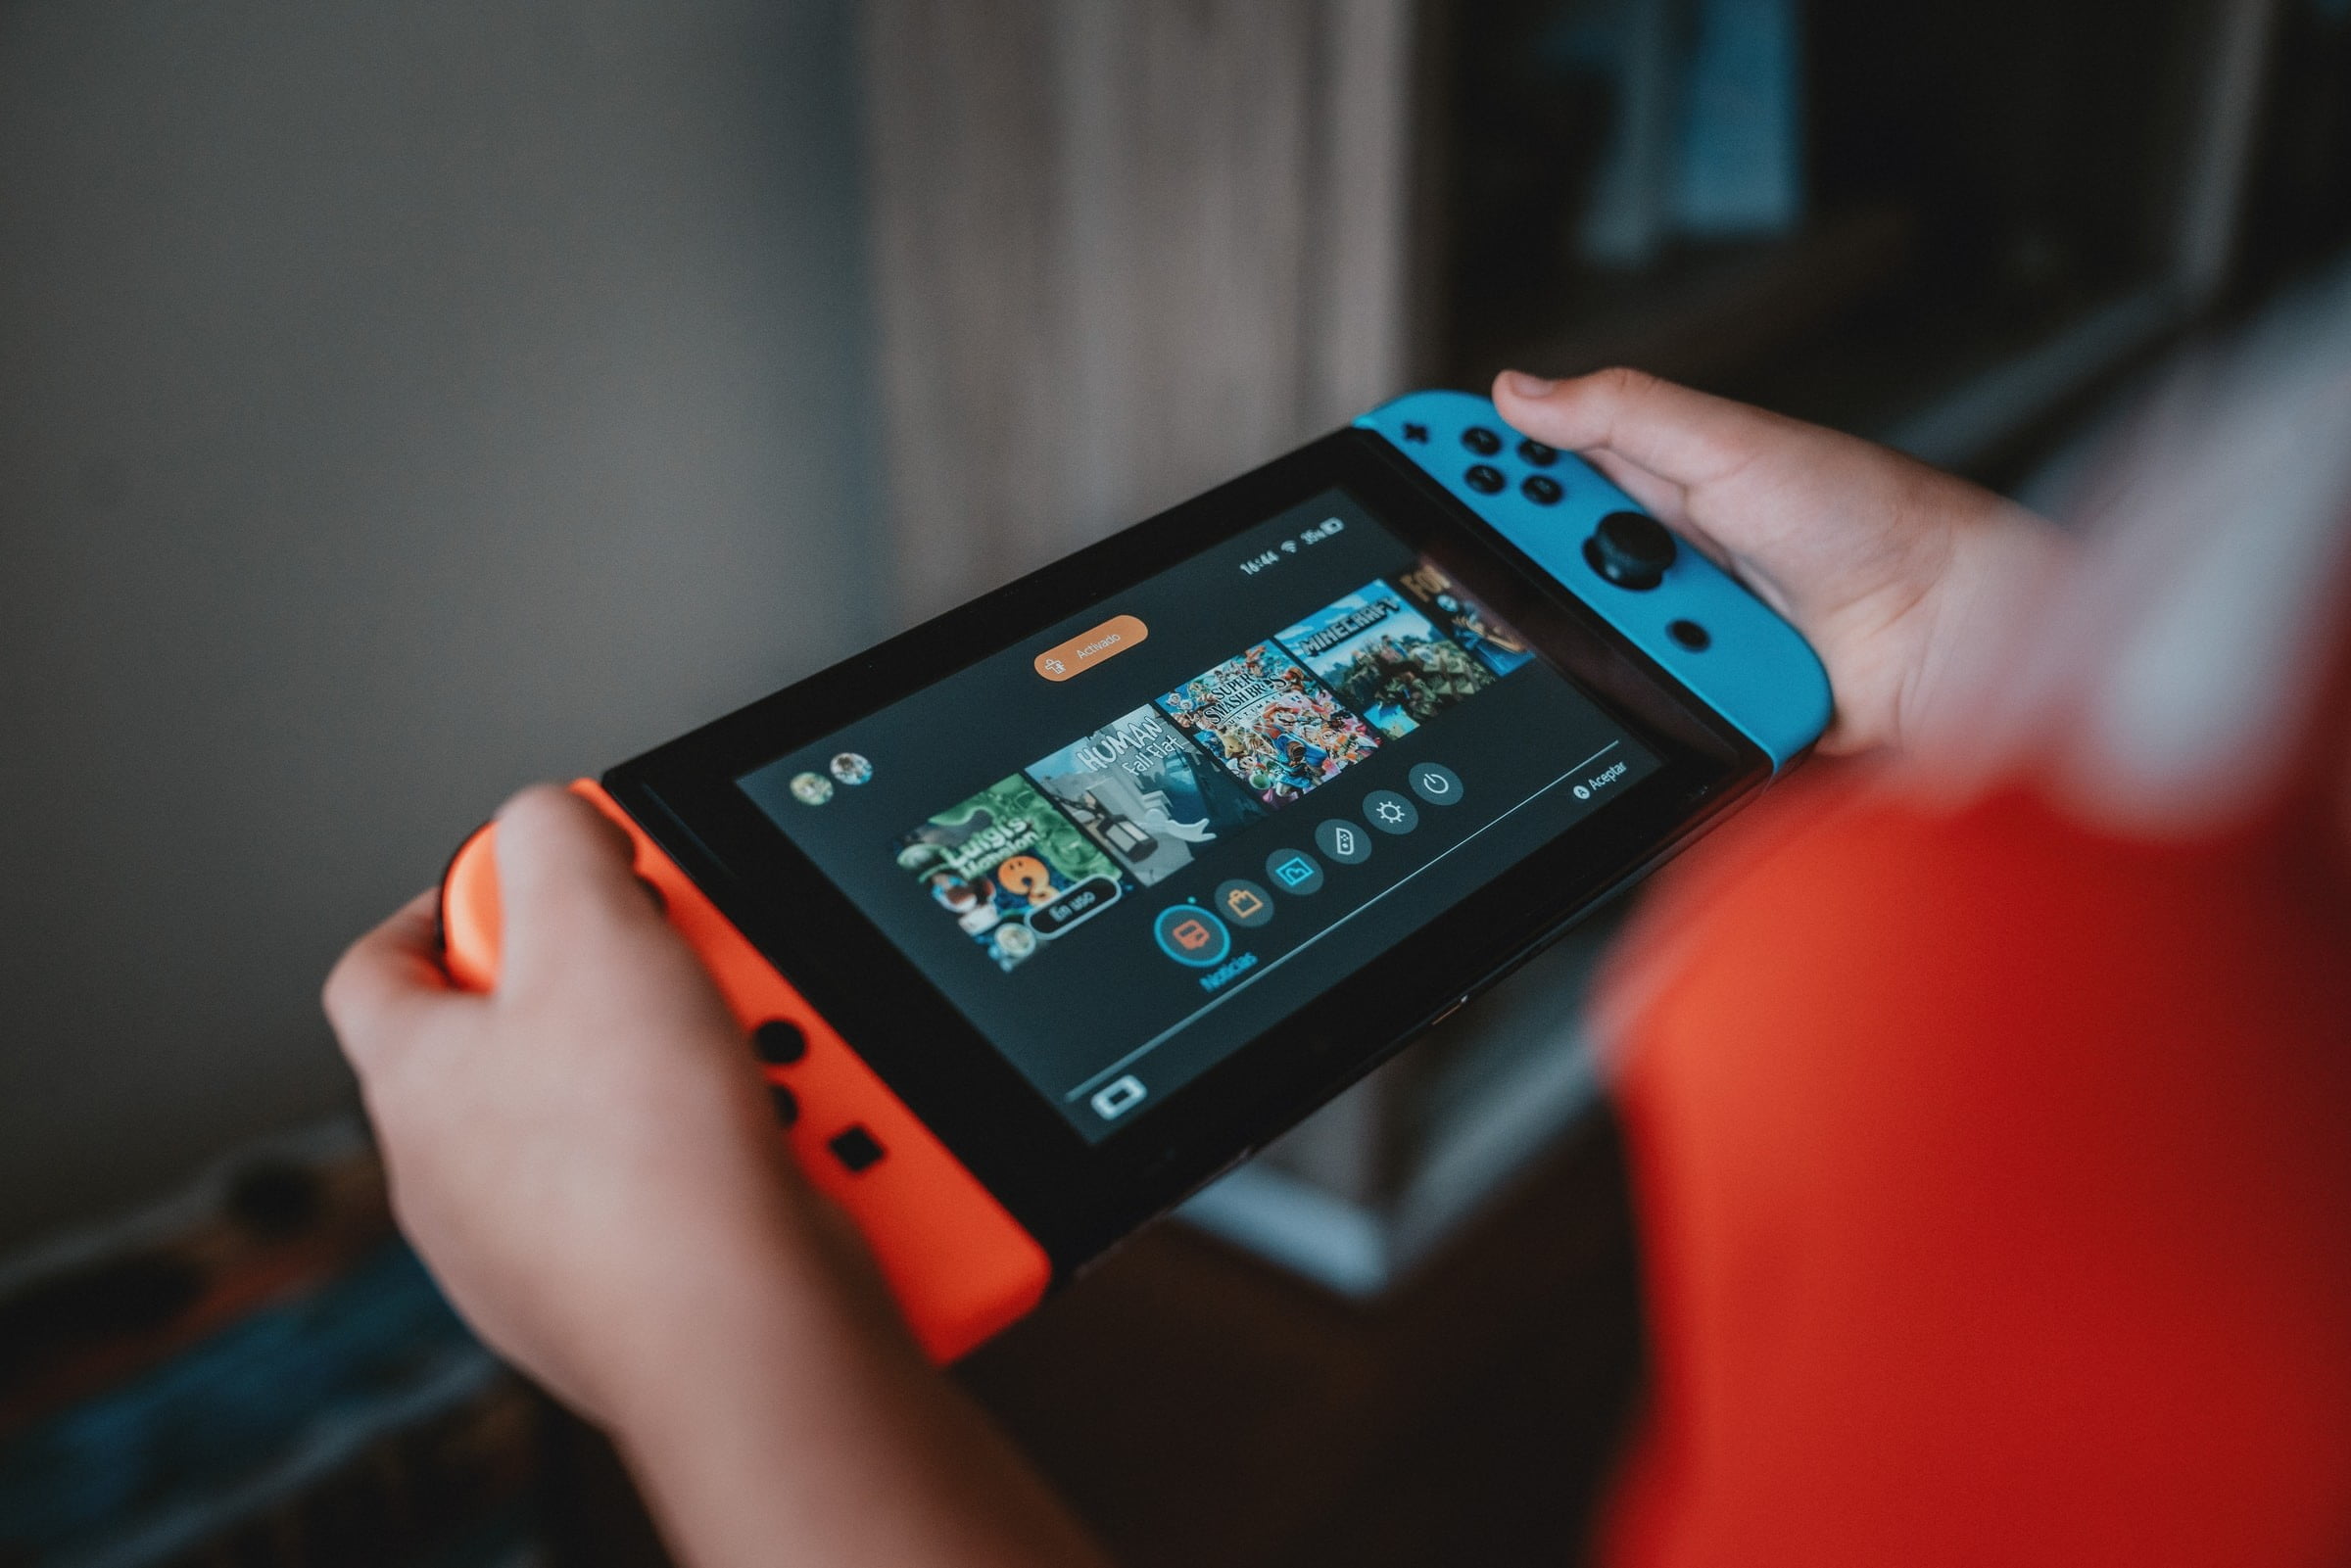
Note that livestreaming only works with a regular Nintendo Switch. The Switch Lite can’t output video to an external display, so you can’t hook it up with a capture card. There are many different broadcasting applications to support streaming, but this guide focuses on OBS — a free, open-source streaming platform.
Further reading
How to stream on Nintendo Switch
Before getting into the weeds, here’s an overview of how to stream on Nintendo Switch.
What you’ll need
First, you’ll need a Switch, a Switch dock, an external monitor or TV, a PC to connect to the internet, and a capture card — in this case, we chose to use a Razer Ripsaw. Next, you’ll need to set up the Nintendo Switch for streaming. To do this, connect your dock to a power source and plug in the HDMI cable to the capture card input. Next, take the capture card HDMI cable and plug it into an external monitor or television. Now take the USB cable from the capture card and plug it into your computer.
If you’re using the Ripsaw, you’ll need to download and install the Razer Synapse program. At this point, make sure the light on the Ripsaw turns green. Download Open Broadcaster Studio (OBS) from the developer’s website. Once installed, open OBS, and under Sources, right-click Add Video Capture Device. Select New and name this whatever you’d like. Next, click Device and select your capture card from the resulting drop-down menu.
You can now turn on your Switch and open the game you’d like to stream. If the image does not appear on the screen in OBS at this point, change the resolution frames-per-second type to Custom and set the resolution to 1080p and the frame rate to 60. Now, you’ll need to decide which platform you’d like to use for streaming. Below are three of the more popular options.
Twitch
First, go to Twitch.tv and log in — if you don’t have an account, sign up for one at this point — and click your name in the upper-right corner to access the Creator Dashboard. Next, go to Settings, Stream and select Show underneath Primary Stream Key. Copy this key and go back to OBS. Click File, then Settings. Next, click Streaming and select Twitch as the service before choosing the server closest to you in terms of location. You can copy your stream key and paste it here. Afterward, select Apply. Click Start Streaming and head back to Twitch.tv, where you should be able to see a preview in the Stream Manager of the dashboard.
There is now an official Twitch app for the Nintendo Switch. It is available for free from the Nintendo eShop. The app is great for watching your favorite creators at home or on the go. Unfortunately, the Twitch app does not have the ability to broadcast.
YouTube
First, go to YouTube and log in as you normally would. Click the profile icon in the upper-right corner to access your Creator Studio, and select Create in the top right corner. You can then select Go Live. If this is your first time, you’ll need to verify your account and wait 24 hours before streaming. Input all of your basic information on the resulting page, including the title description, thumbnail, and other facets you might want. Afterward, scroll down to Encoder Settings and click Reveal on the stream key.
Copy that key and open OBS. Select File, Settings, then Stream. Choose YouTube Primary as the server and YouTube as the service. Next, enter the stream key and click on Apply. Click Start Streaming and check YouTube for your stream.
Note: As soon as you click Start Streaming, your stream goes live. Choose Private beforehand while you’re testing things out.
Facebook has its own streaming platform with many built-in tools to help you promote your channel and track viewership. To get started, navigate to the Facebook Gaming website. First, you will need to create a page. Assign a name to the page and input Gaming Video Creator as the category. Click on Create Page at the bottom, and you will be able to add images and a cover photo. Save any changes, and you will be ready to set up your first live stream.
Click Creator Studio in the menu on the left of the screen. From there, select Create Post, then Live Video. This will launch a new window, where you will run the stream itself. Create a title and description of the stream using the options to the left. Make sure Use Stream Key is selected, and under Live Stream Setup, you will be able to copy the stream key for use in OBS.
Once you’ve completed this step, head over to OBS. Select File, Setting, and then the Stream option. You’ll want to pick Facebook Live as your streaming service. After you’ve selected this, you need to decide on your default server. To do this, enter the stream key (or use the copy and paste functions) and select Apply. Click the Start Streaming button in OBS, then Go Live in Facebook, and you will officially be streaming your gameplay on Facebook.